Blog > Making Vintage Bird Ornaments
Making Vintage Bird Ornaments
A simple ornament project that adds vintage charm to your tree.
Want to add a handcrafted touch to your Christmas tree? Create these paper bird ornaments using free vintage illustrations, your printer, and a little handiwork.
What you'll need:
- Photo editing software
- Inkjet printer
- Heavy weight, matte photo paper
- X-Acto knife and cutting surface
- Hole punch
- Hole protectors
- Twine
1. Get the artwork.
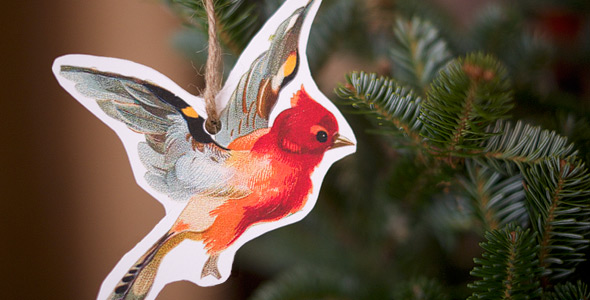
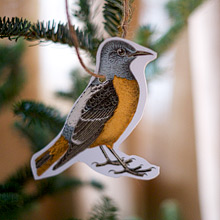
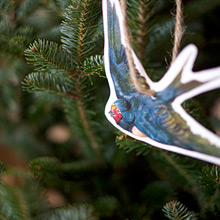
We decorated our tree with vintage bird illustrations. Download our PDF of ready-to-print vintage bird ornaments or visit one of the following websites to download high-resolution scans of vintage clipart. Images with white backgrounds work the best for this project.
2. Prepare and print the illustrations.
Crop out the illustrations and resize them within your photo editing software to all be around the same dimensions. Around four inches or shorter on the longest dimension works best for these paper ornaments. Maximize the number of birds you can fit onto the page by rotating them as necessary, but remember to leave some breathing room around them to make cutting them out easy. We fit 20 birds onto a 17"x22" sheet, so you can expect to fit around 5 birds on an 8.5"x11" sheet.
Print the birds on a heavy weight, matte photo paper for best results. This will give them some substance, and the matte finish looks more convincingly vintage than gloss.
3. Cut away.
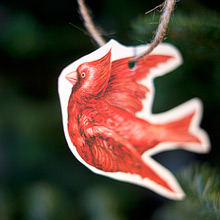
Carefully cut around each bird with your knife. Leave a healthy margin of white paper around each bird so you don't have to struggle with following the artwork precisely. This will give your ornaments the look of old-fashioned cardboard ornaments that had a white margin, and will help the darker colored birds pop against the dark tree branches.
4. Punch, string, and hang.
Get a sense of how the bird will hang by dangling it from your fingers. Find a point that lets the bird hang evenly and punch a hole. Strengthen it by applying a hole protector sticker (Avery makes them.) to the unprinted back of the bird. String a length of twine through and tie it at the top. Carefully place it on a tree branch and you're done!
We think these colorful little birds add an interesting detail to our tree. If birds aren't your thing, check out the vintage clipart sites above for many other options. Be sure to send photos if you try this project - we'd love to see!

RELATED POSTS
What's Better, A Bench Or Multiple Cushions?
How Can I Get A Big Sofa Into A Small Home?
What Is An English Roll Arm Sofa?
What's The Best Sofa If You Have High Ceilings?